


Tadalafil weist eine hohe Selektivität gegenüber PDE5 auf und beeinflusst andere Isoenzyme nur geringfügig. Dadurch sind unerwünschte systemische Effekte auf Kreislauf oder Retina begrenzt. Die Proteinbindung im Plasma liegt bei über 90 %, was eine breite Gewebeverteilung ermöglicht. Die pharmakologische Wirkung zeigt sich unabhängig von der Nahrungsaufnahme und bleibt über viele Stunden konstant. Häufig beobachtete Nebenwirkungen stehen im Zusammenhang mit vasodilatatorischen Mechanismen, darunter Kopfschmerzen oder Flush-Symptome. Die Elimination erfolgt größtenteils fäkal, mit einem geringen Anteil über die Niere. Bei Vergleichen zwischen verschiedenen PDE5-Hemmern wird cialis kaufen aufgrund der langen Halbwertszeit oft als Referenz genannt.
DIY Wedding Welcome Sign
Good morning! Its Wednesday- yay! Only one more day till Geoff comes home from his business trip. I hate it when he leaves, but in one way its good because I get soooooo much stuff done. When he's home, I'd rather be hanging out with him than doing chores! So I cleaned the house from top to bottom and got some wedding stuff done. I am super excited about the Wedding Welcome Sign I finished last night! I took the antique frame we used in our engagement photos (see below) and repurposed it. I wanted a cute sign to hang on the white picket fence outside our wedding venue to welcome guests as they arrive (and let them know they are in the right spot.) Scroll down to see the step-by-step directions and the final product! Adorable!
Have a lovely Wednesday all!
XO
-L


The frame in its original state in our engagement photos.
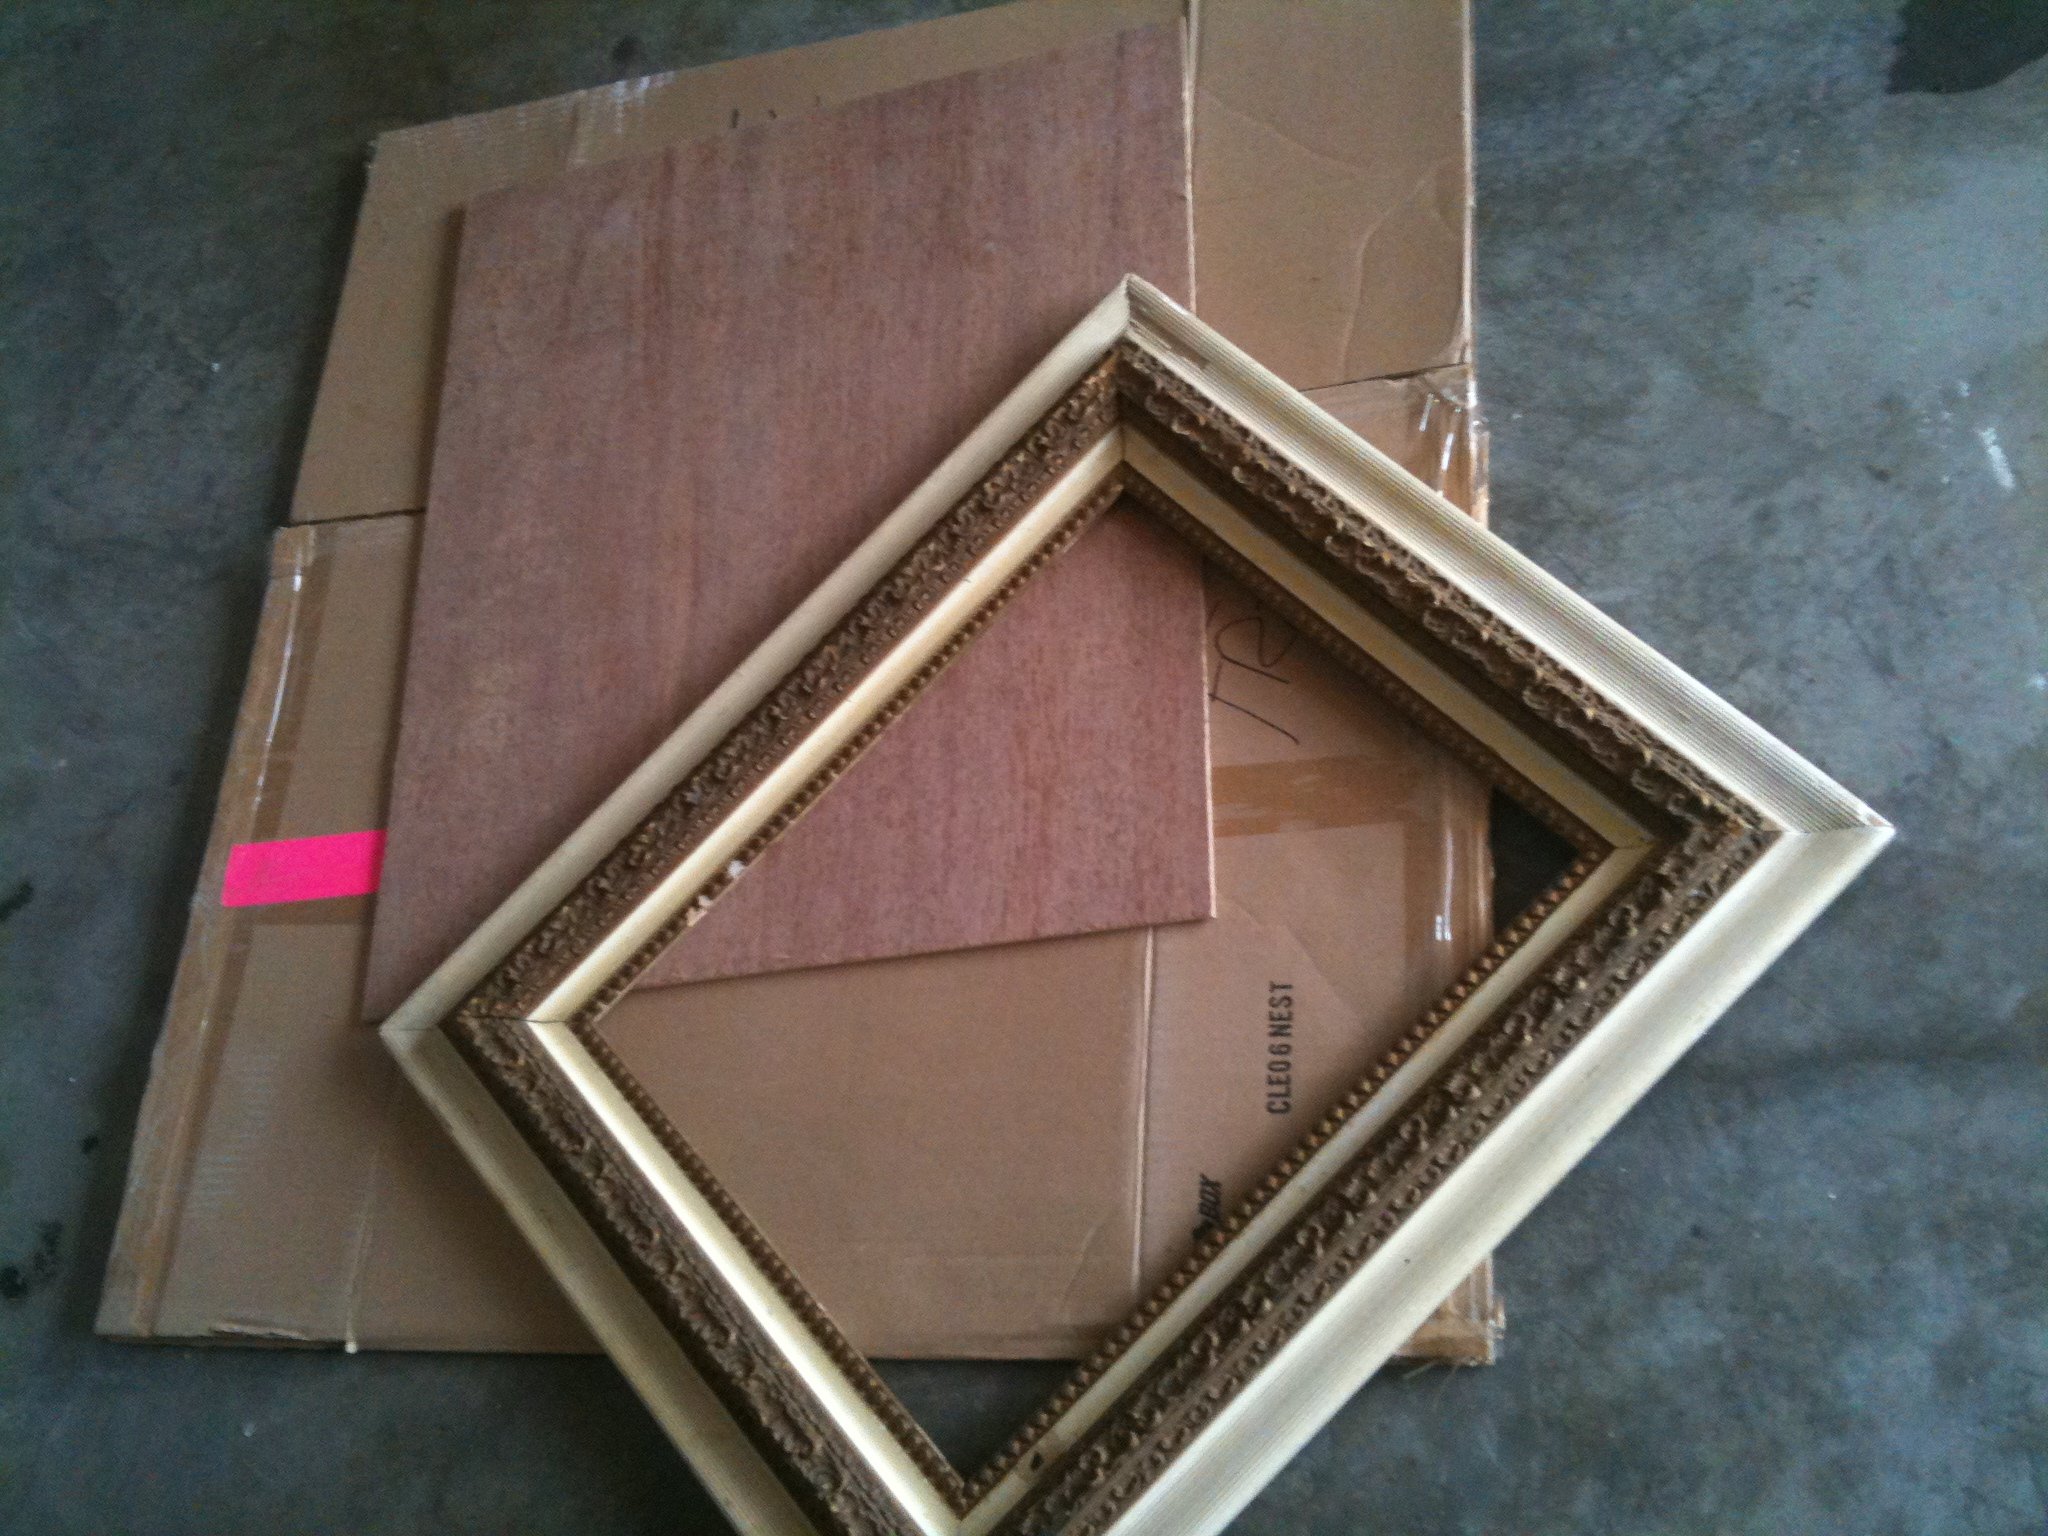
I bought a piece of plywood and the nice men at Home Depot
cut it to the right size to fit my frame.
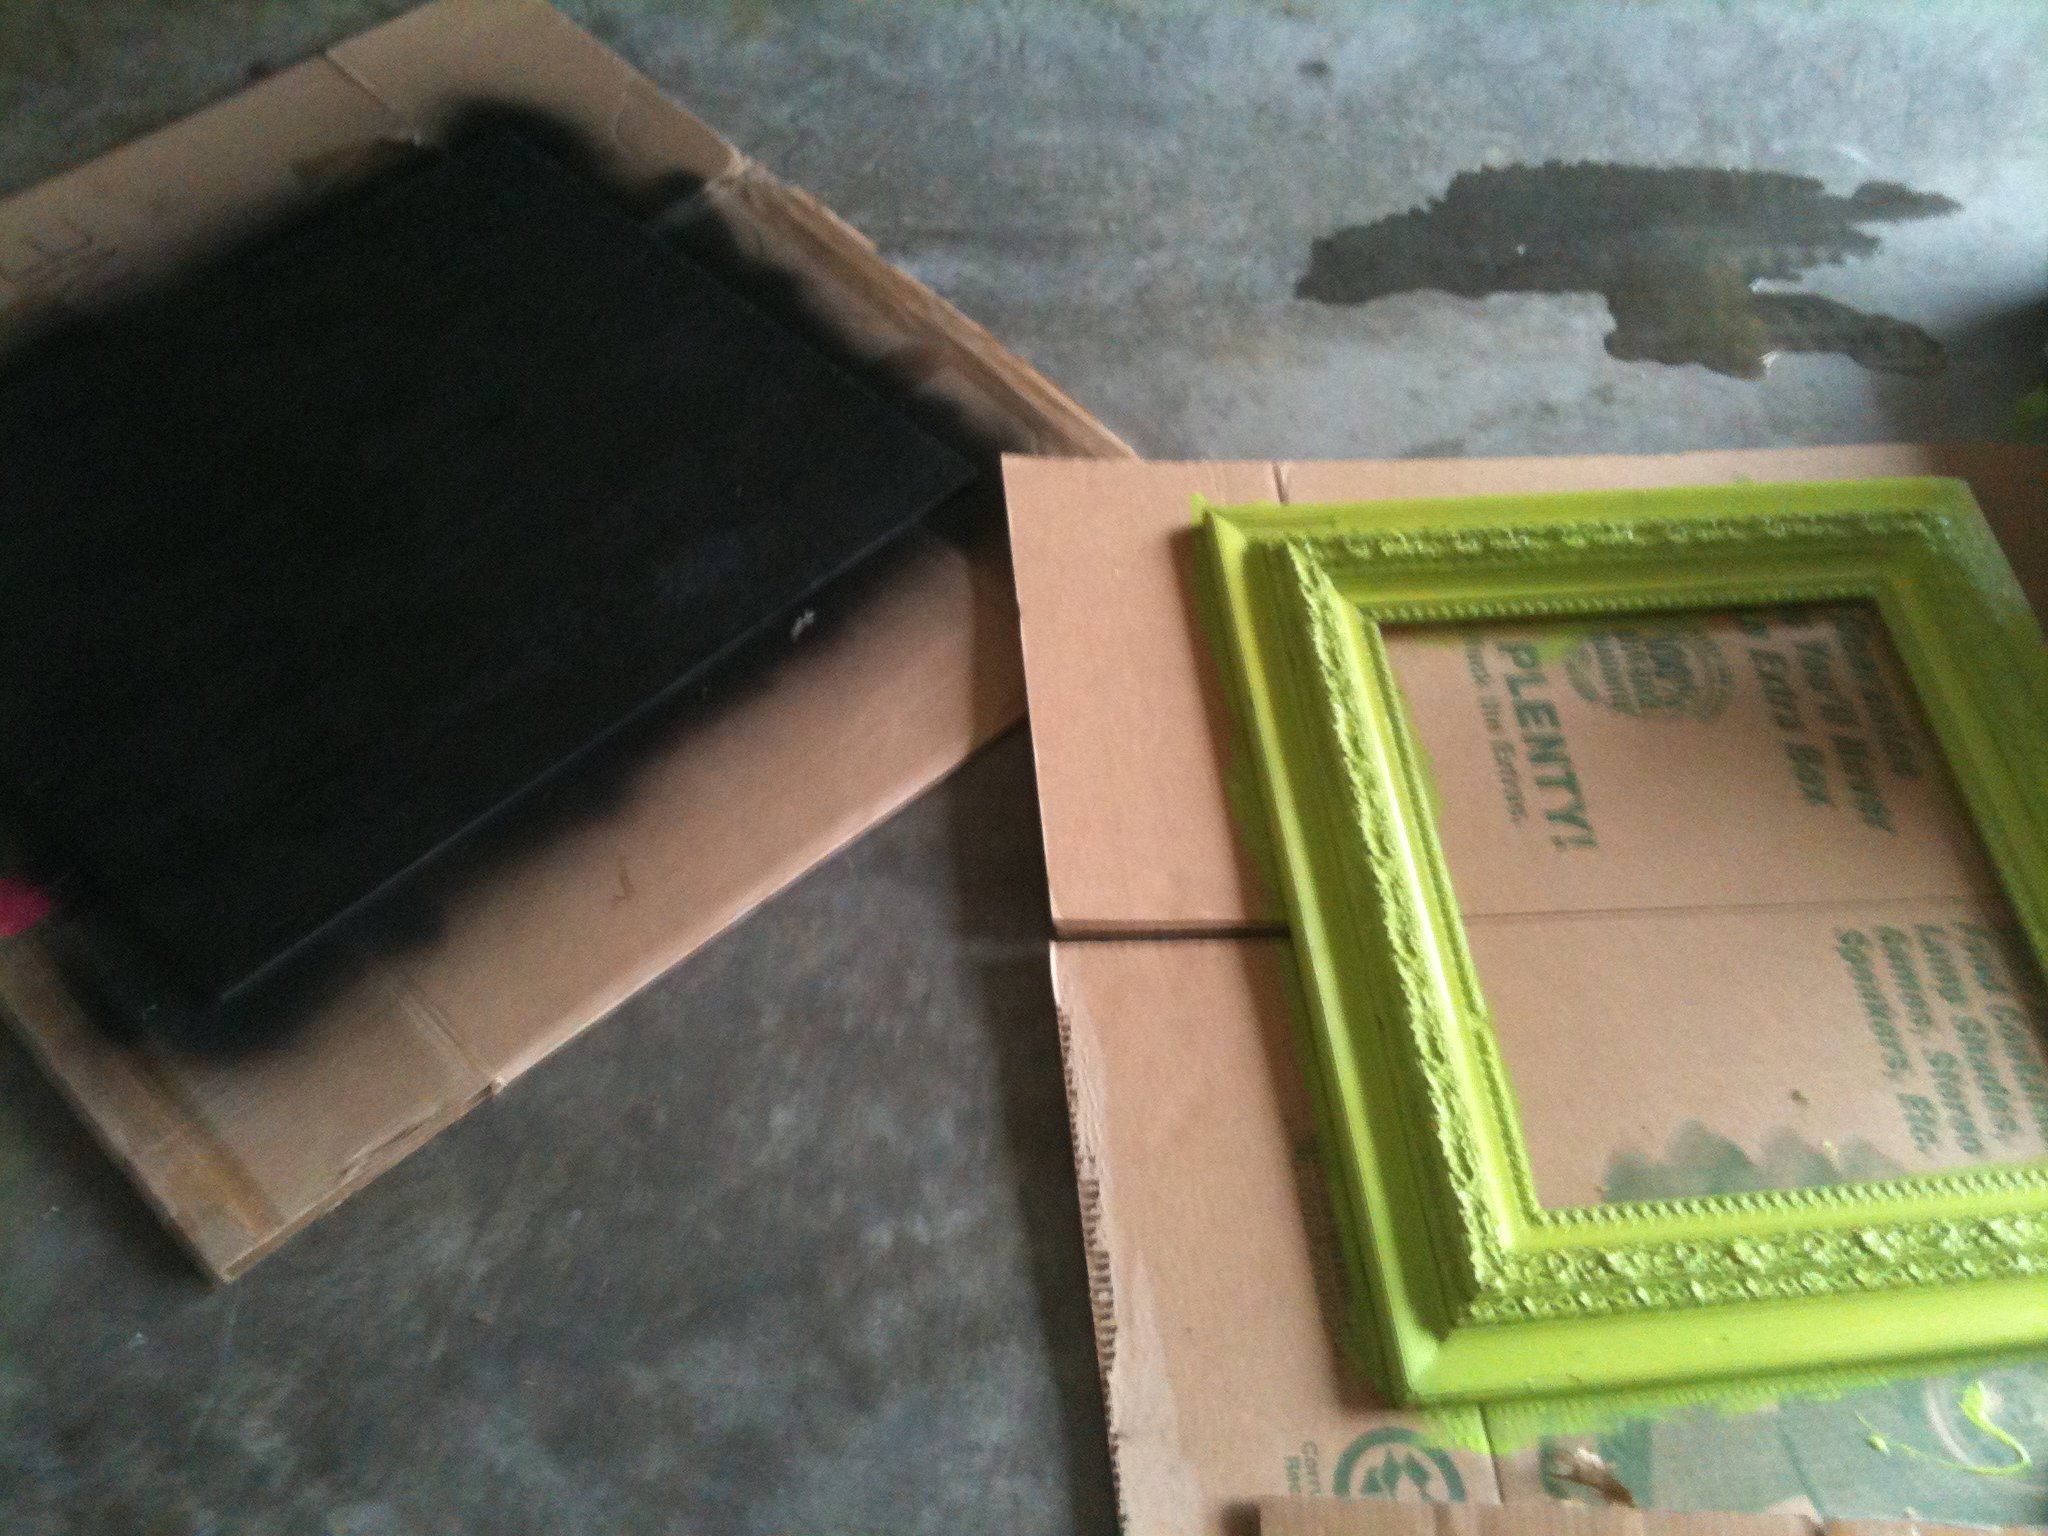
I spray painted the plywood black (for a chalkboard effect)
and painted the frame a bright green to match one of our
wedding colors.
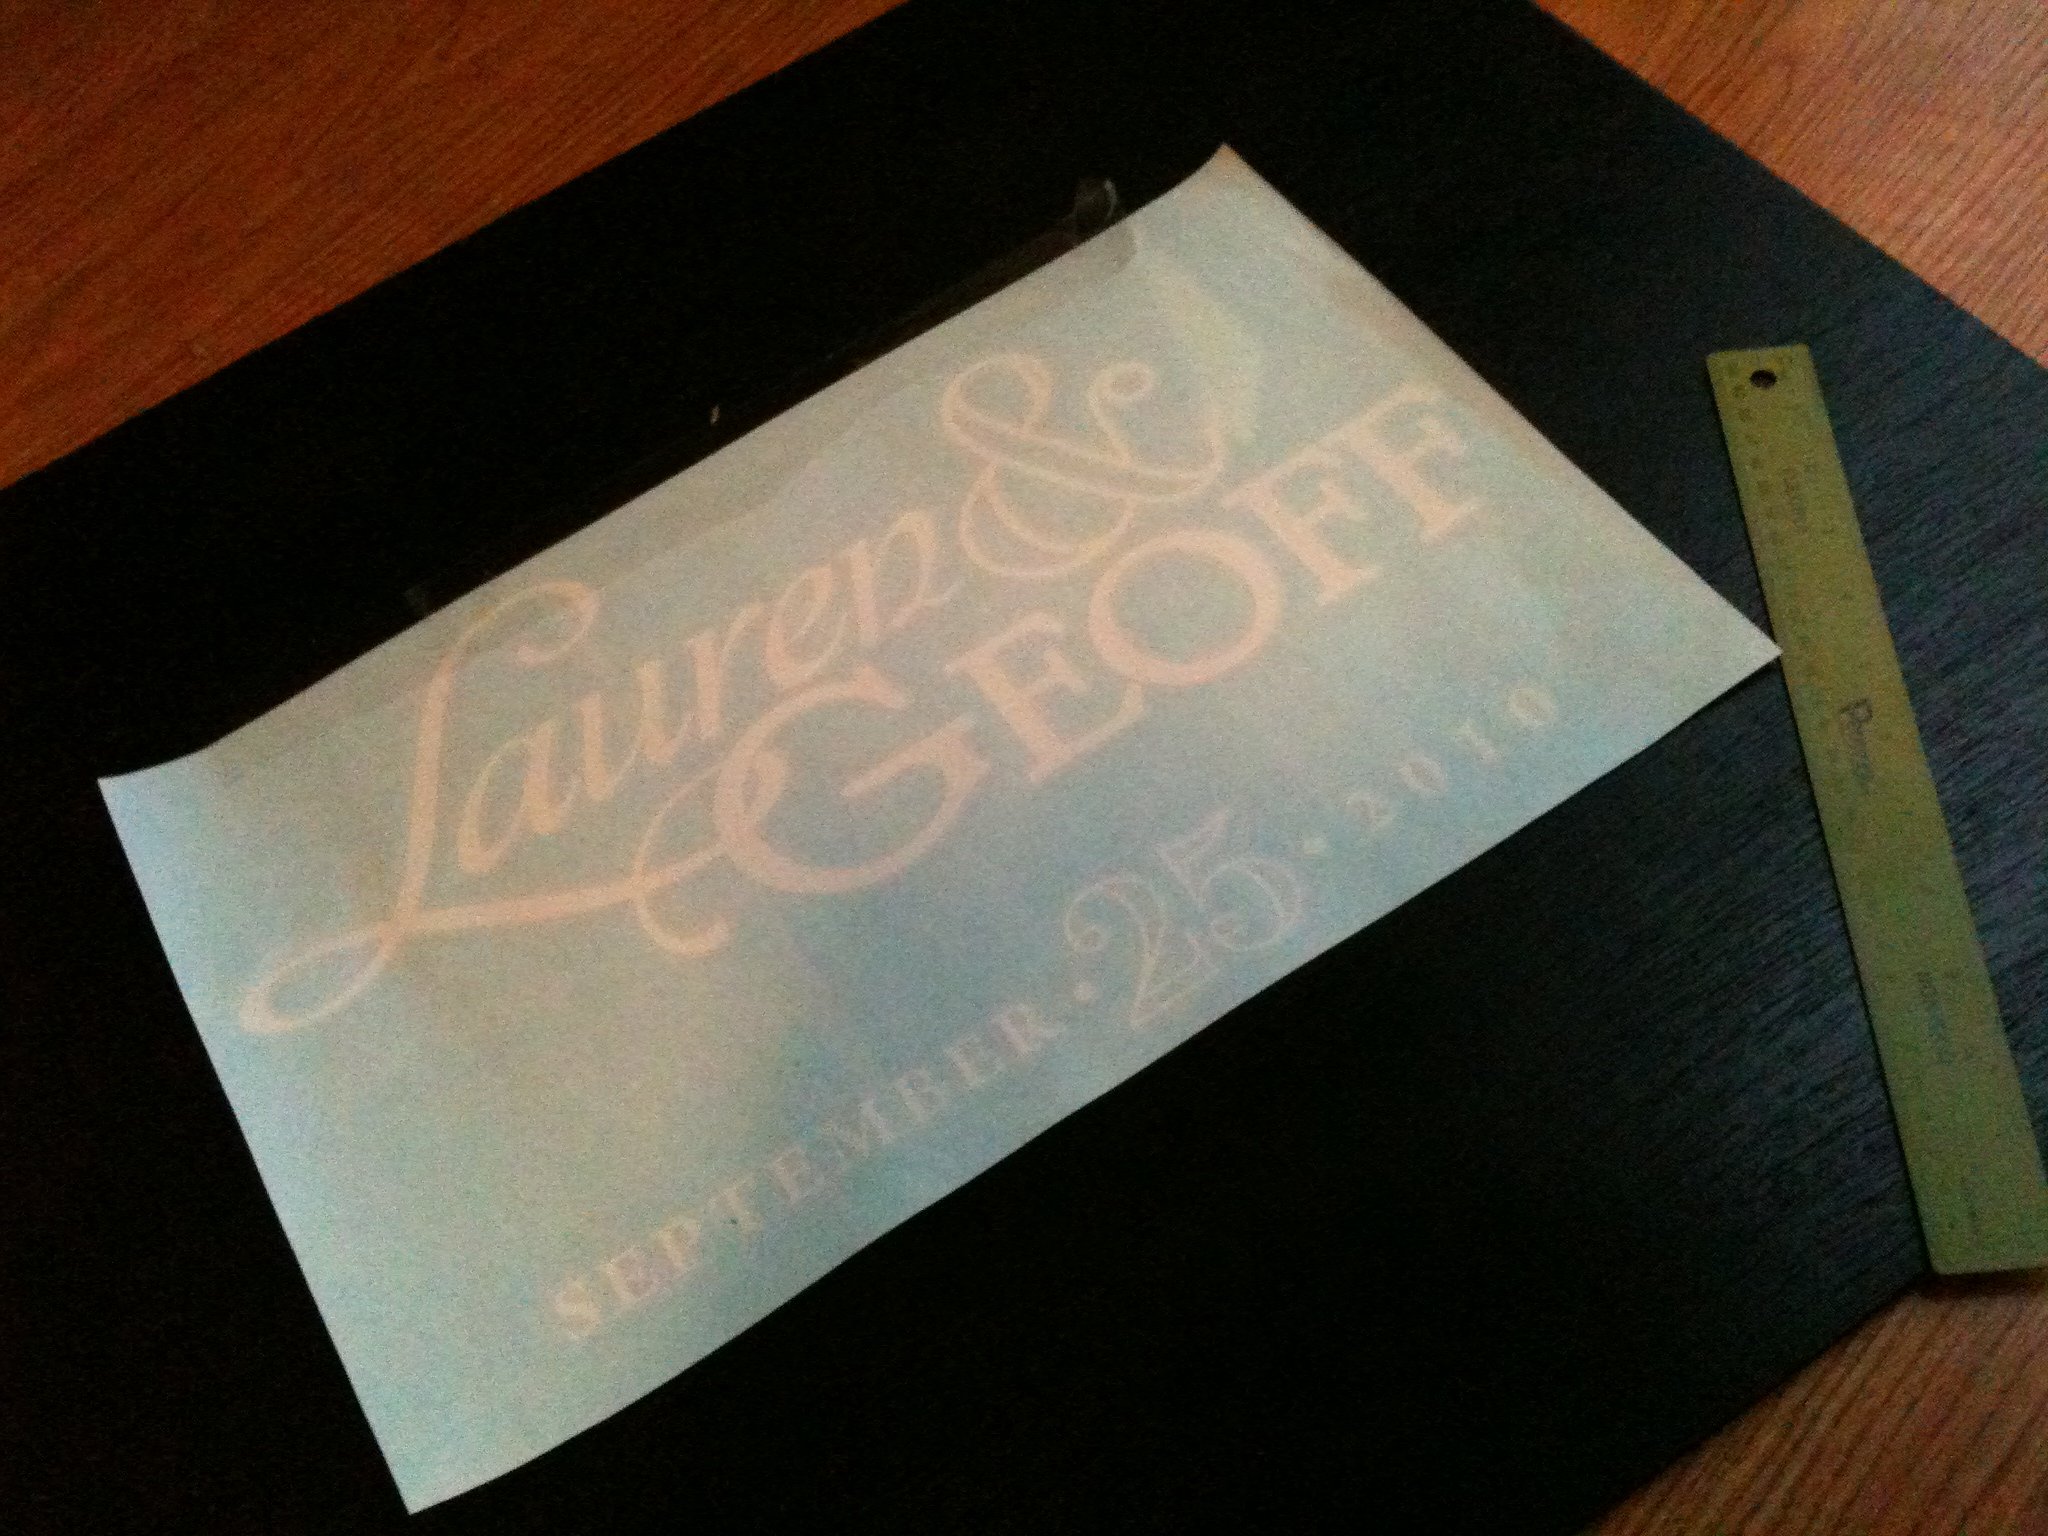
Instead of trying to paint such an intricate design, I had a vinyl
decal made at Fast Signs which I applied to the black plywood.
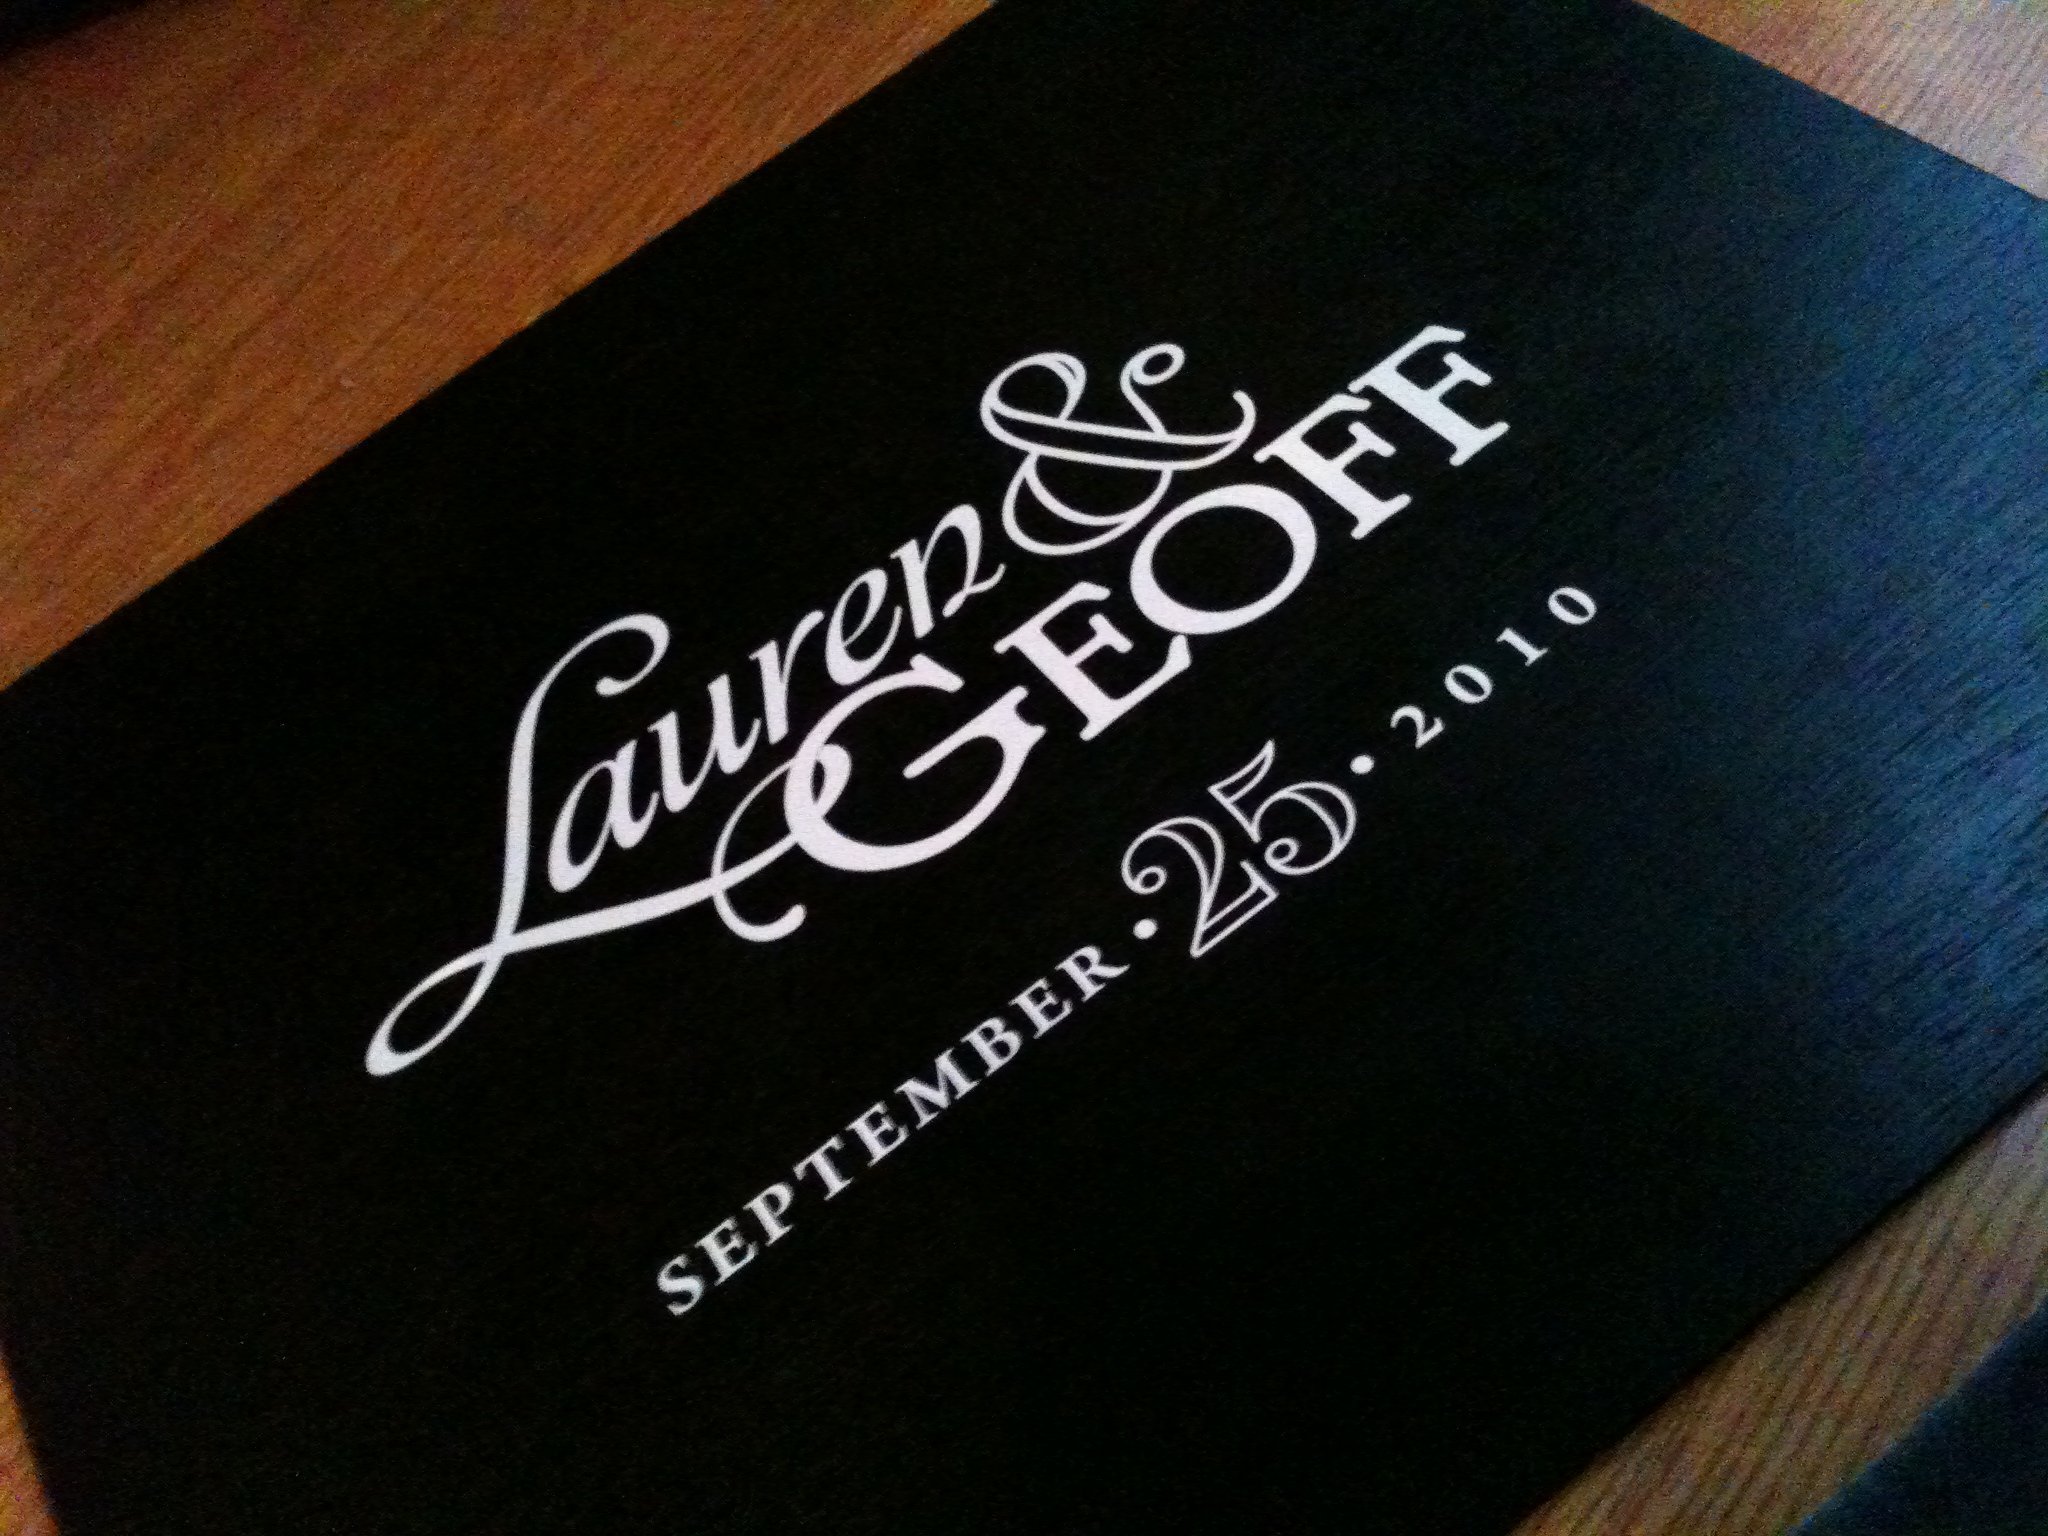
After applying the vinyl, I used Liquid Nails to glue the plywood
to the frame (because the frame was much too delicate to use nails.
I then weighted it down and let it dry for 24 hours.
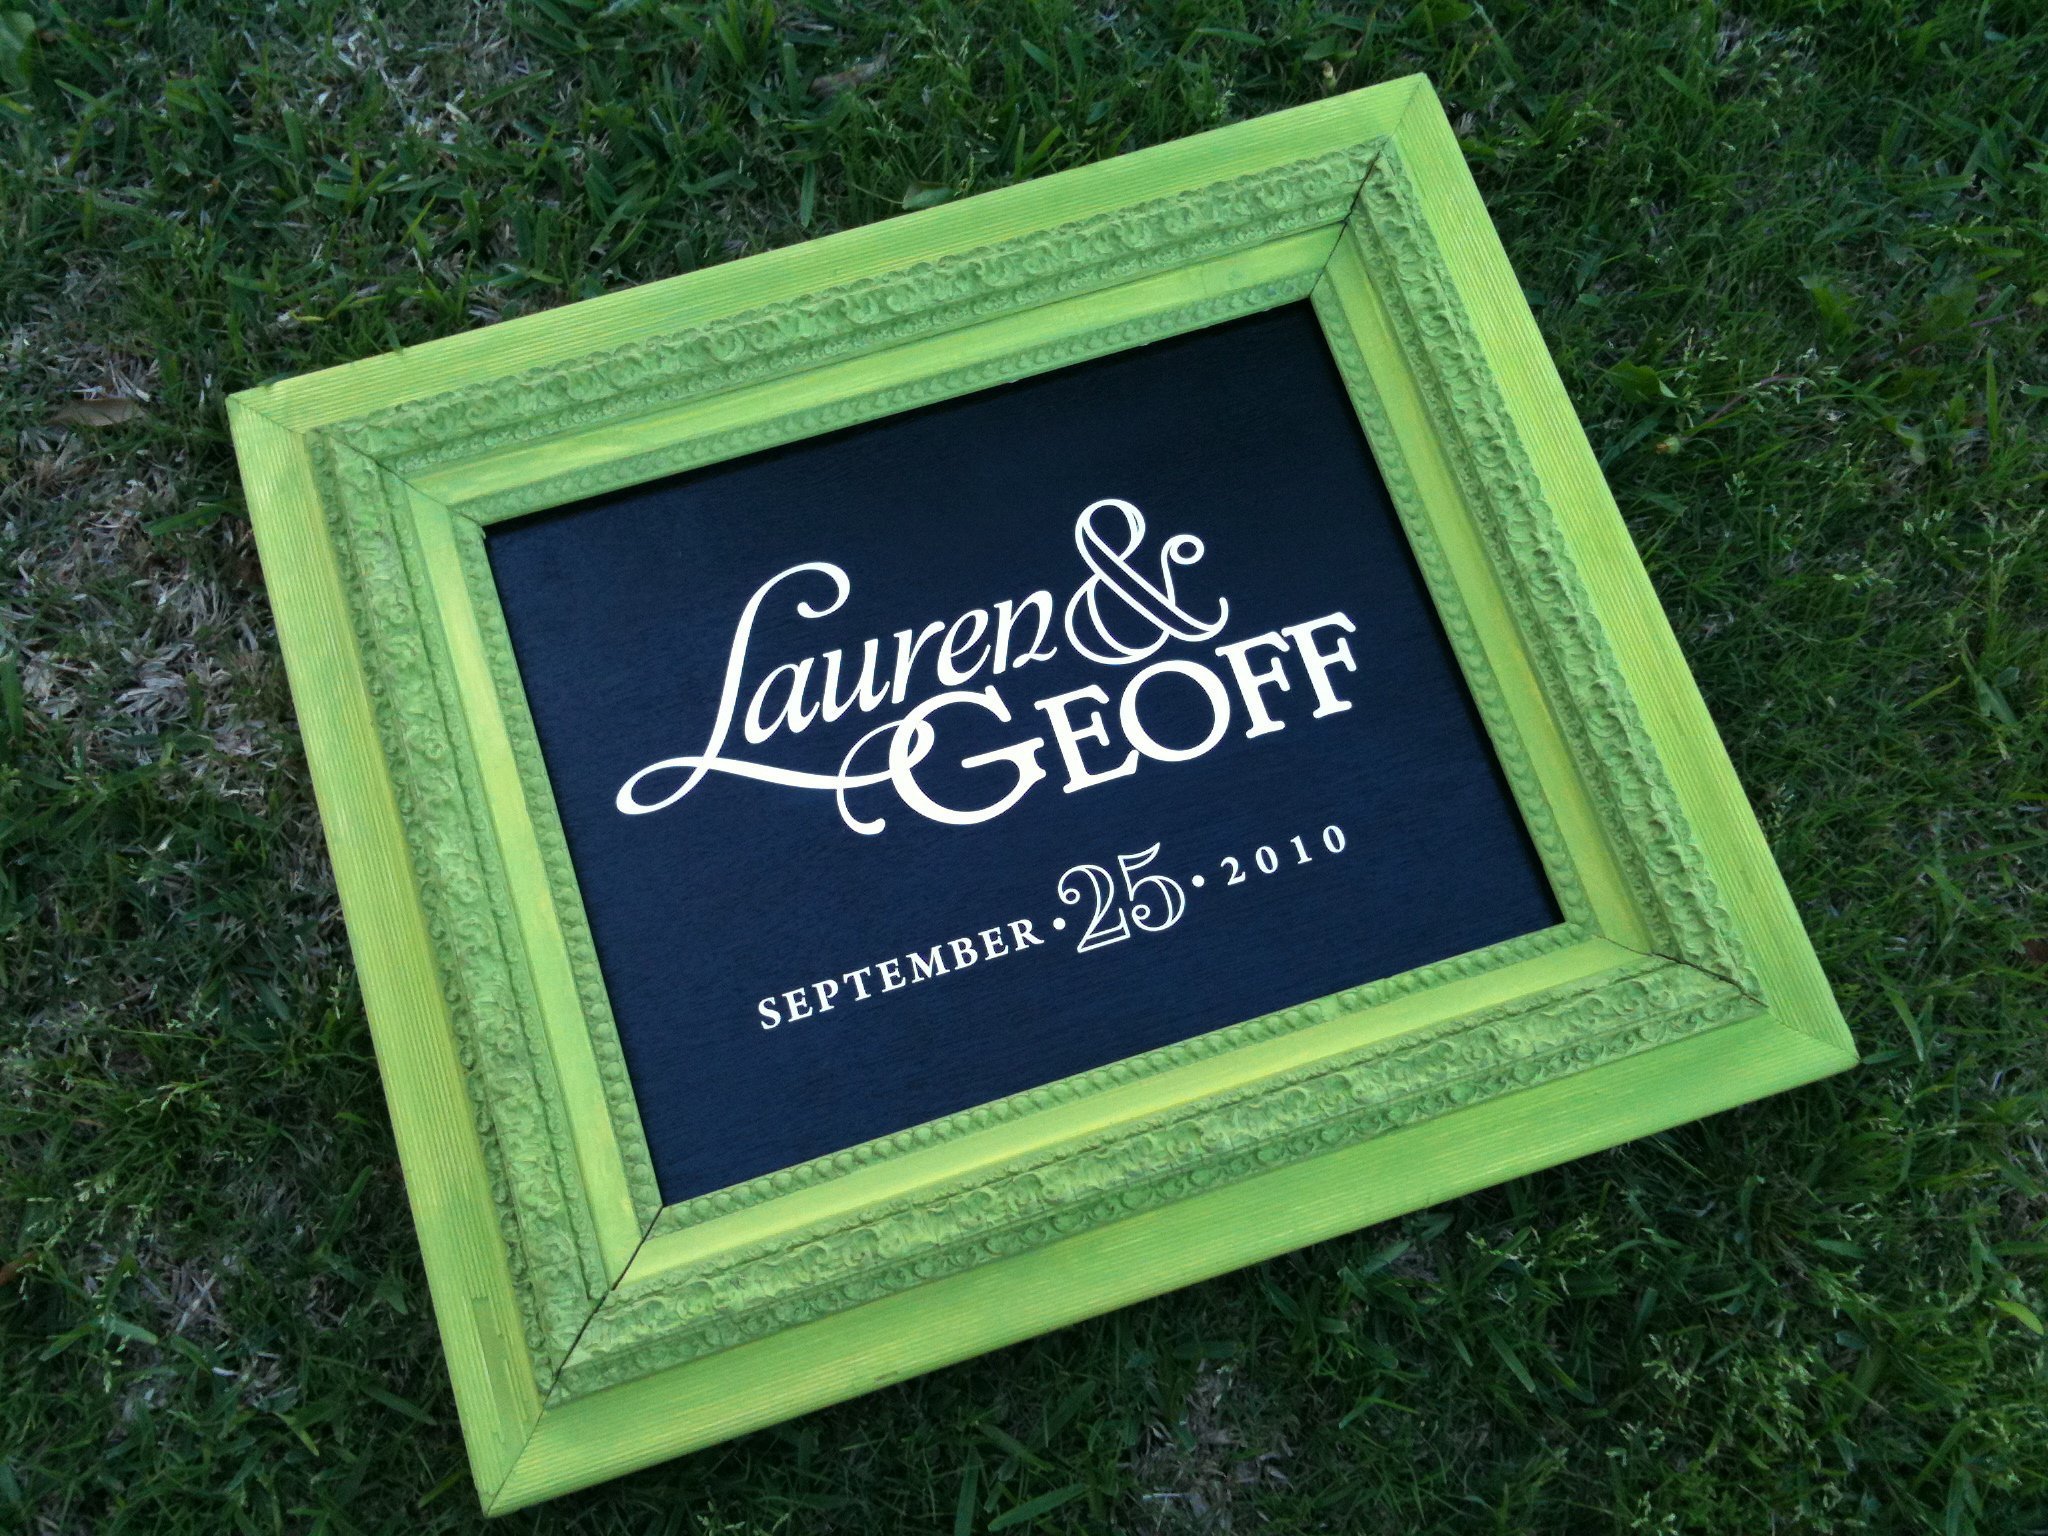
And voila! Here's the final product- I love how it turned out!
 Lauren
Reader Comments (2)
This is beautiful!! Did you design the logo yourself and if so, did you use a specific program?
Thanks for sharing!
This is just beautiful! I love how you painted the frame such a vivid green. Absolutely gorgeous!